

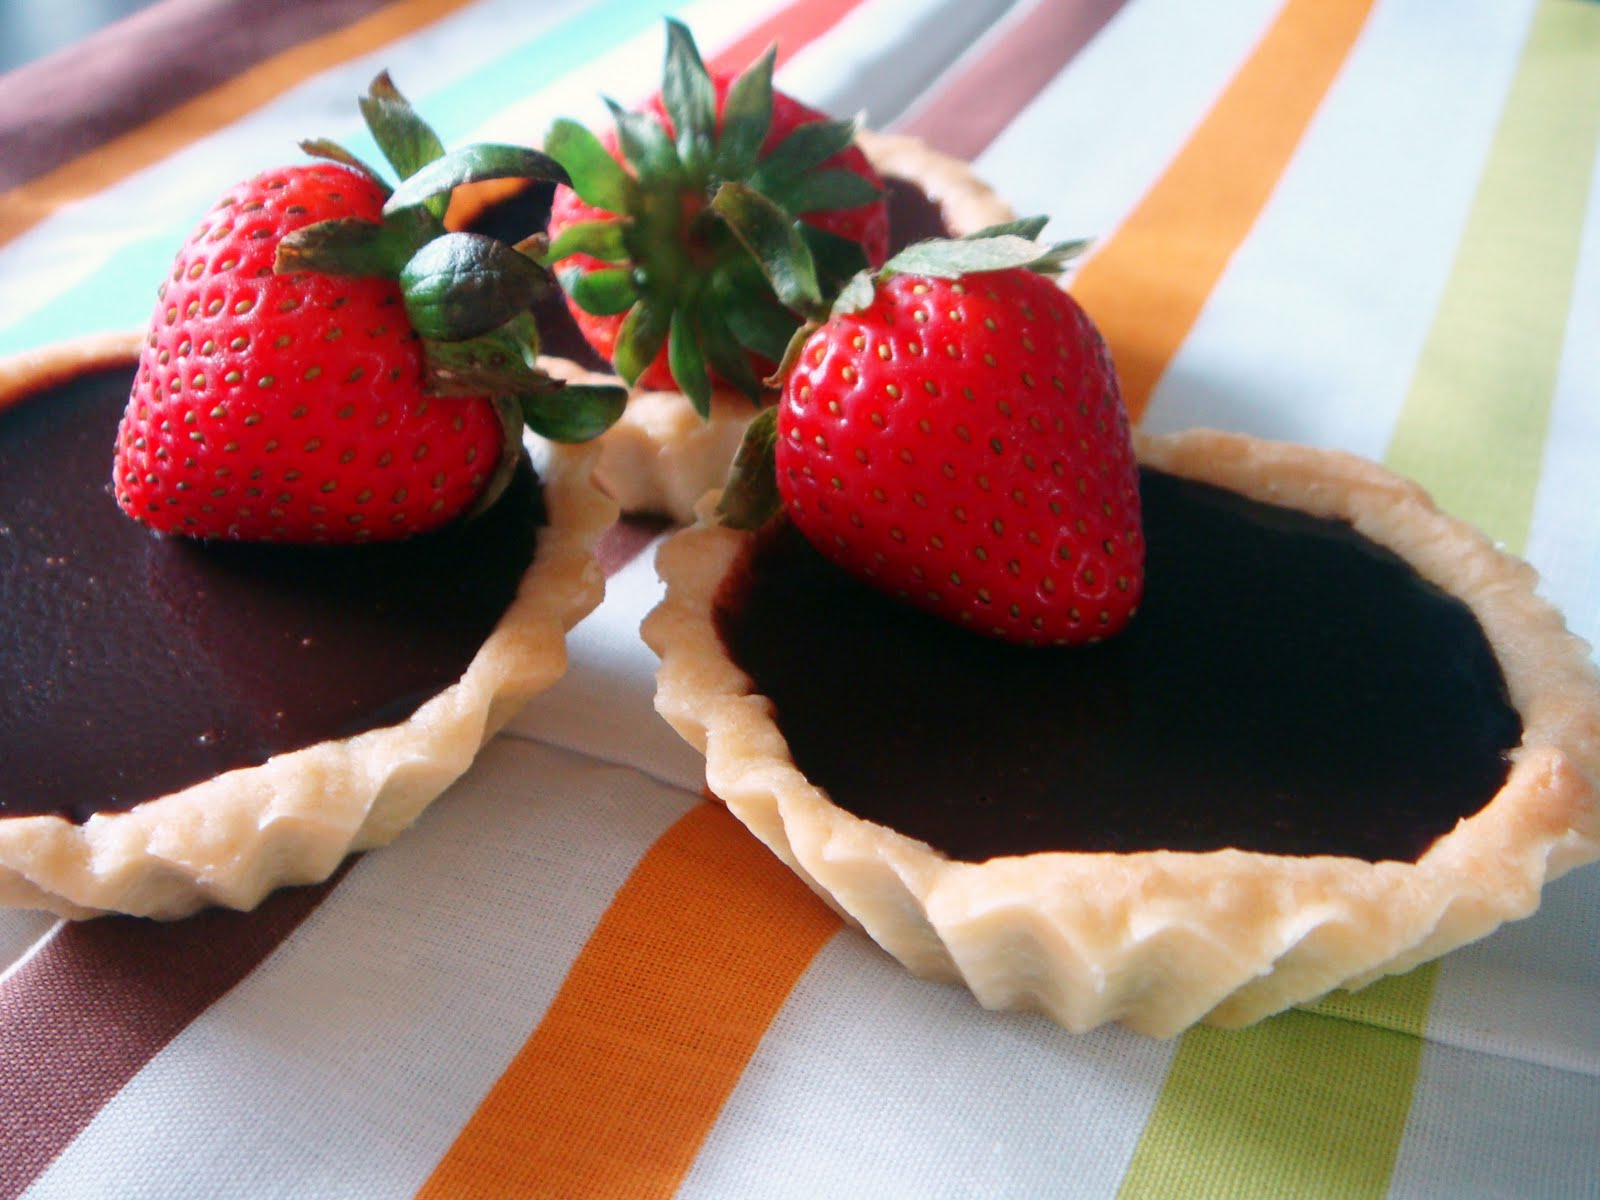
These days, tarts are fast becoming part of my baking routine. With some leftover cream from a previous bake, I decided to churn out some chocolate tarts.


Flipping through my collection of bake books, I decided to marry two recipes from two different books. Instead of making a whole 10 inch tart, I thought it would be nice to tweak things a little. Why not make smaller tarts instead? Well, it seemed pretty straight forward, but there is slightly more work involved in making smaller tarts. I have to measure out the exact weight of dough for each small tart tin and press the dough in to fit. The recipe made enough for 13 tarts, meaning that I had to repeat the pressing dough into tart tin process 13 times. I would not say it is difficult to do so, but the repetitive nature is enough to bore me. What a chore!
Next up was deciding the amount of chocolate filling for the tarts. I made a small portion and it was sufficient to fill 6 of the tart crusts. After filling the 6 tart crusts, I soon realized that the filling was too bitter for my liking. What I did next was prepared enough filling for the rest of the tart crusts. I then scooped out the fillings from the tarts I have already prepared and mixed them in with the rest of the newly prepared filling, added some honey and it was good to go.

Silky Chocolate Tarts (Crust recipe adapted from Tarts: Sweet and Savoury)
Equipment: 3 inch (measured from top) individual tart tins. Mine comes in a pack of 12.
Pate Sucree:
200g flour
60g icing sugar
85g diced unsalted butter, softened and at room temperature
2 egg yolks
1/2 tsp vanilla extract
2 tbs iced water
Method:
1) Sift flour and sugar into a bowl. Use a whisk to distribute the ingredients evenly.
2) Pour the flour and sugar mixture onto a clean surface. Make a well in the middle.
3) Place the butter, egg yolks and vanilla in the well. Use one hand to peck the butter and yolks together until it becomes like scrambled eggs
4) Using a long palette knife, spoon flour over the well and chop throughout to mix the butter mixture and the flour mixture. The end result should be lumpy.
5) Add the iced water and continue chopping with the knife.
6) Using both hands, bring the mixture to a ball of dough.
7) Wrap it in clingfilm and allow dough to chill for 45 minutes.
8) Preheat oven to 180 degrees C
9) When dough is chilled, weight 30g dough for each tart tin. Press dough evenly to fit the tins.
10) Chill dough for 20 minutes before baking.
11) Place a piece of baking paper over the top of the tart tins. Fill with baking beans or dry beans/ raw rice. Place in oven and bake for 10 minutes.
12) Remove baking paper and baking beans and return tart crusts to oven and bake a further 10 - 15minutes till crusts are dry.
13) Allow crusts to cool and remove from tart tins when done.
Silky Chocolate Filling:
225ml cream
180g dark chocolate (50 - 60% cocoa)
1 tbs liquer of choice: Bailey's, Rum, Cointreau, Kahlua will do fine.
2 - 4 tbs corn syrup/ honey (start with 2 tbs, add more if desired)
Method:
1) Heat cream in a heatproof bowl over a double boiler. When cream is hot, add the chocolate. Allow chocolate to soften then stir to allow chocolate and cream to combine.
2) Remove bowl from heat. Stir in corn syrup and liquer. Allow chocolate filling to cool
3) Spoon chocolate filling into individual tart crusts. Chill tarts in fridge until filling is set.
No comments:
Post a Comment
Dear readers, thanks for visiting my humble little blog. Feel free to leave a message so that I can learn and be a better baker. Its a great feeling to share our culinary experience and adventures in the kitchen.
Thank you and have a nice day! Cheers =]